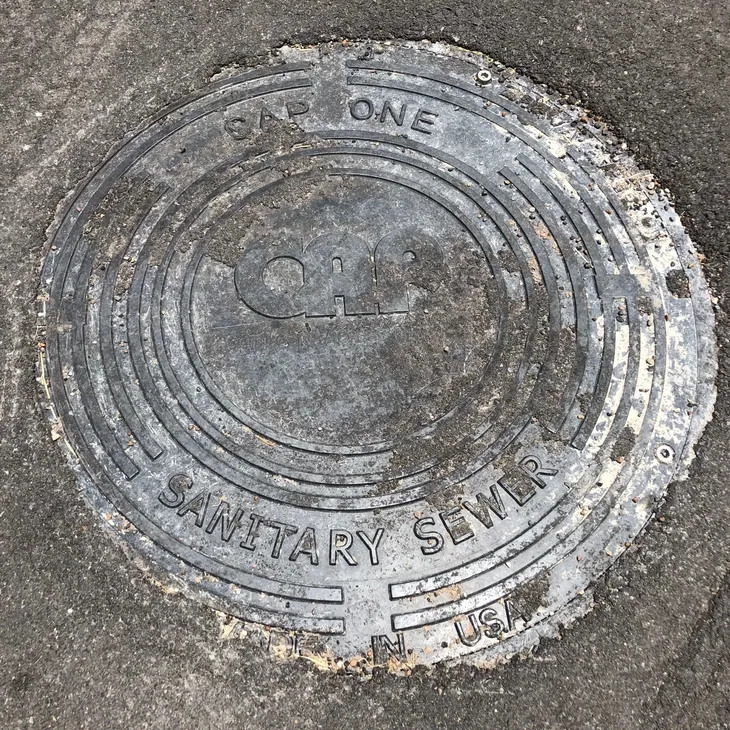
CAP composite manhole covers and frames make installation and handling much safer, faster, and less frustrating. Only one worker is needed versus many with the traditional solutions. Use your extra workers to install more linear feet of pipe! CAPs also slide right into the frames the first time, every time. No need to fight, struggle, and strain as with some traditional covers that don’t fit the same way each time and are extremely heavy.
Click the “Play” arrow to enjoy CAPs ease.
Disclaimer
The information contained on this page is intended for general informational purposes only and does not necessarily represent appropriate advice for your specific application as each individual application has its own variables, such as climate, temperature, soil type, chemical exposure concentrations, grade, and other factors therefore be certain to consult with your contractor, engineer, and other required professionals for your specific application.
Installation Tips
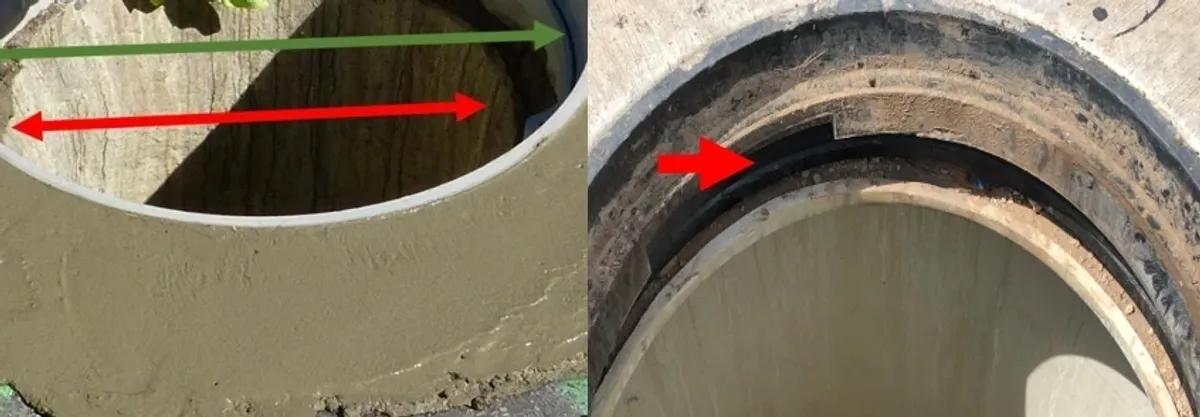
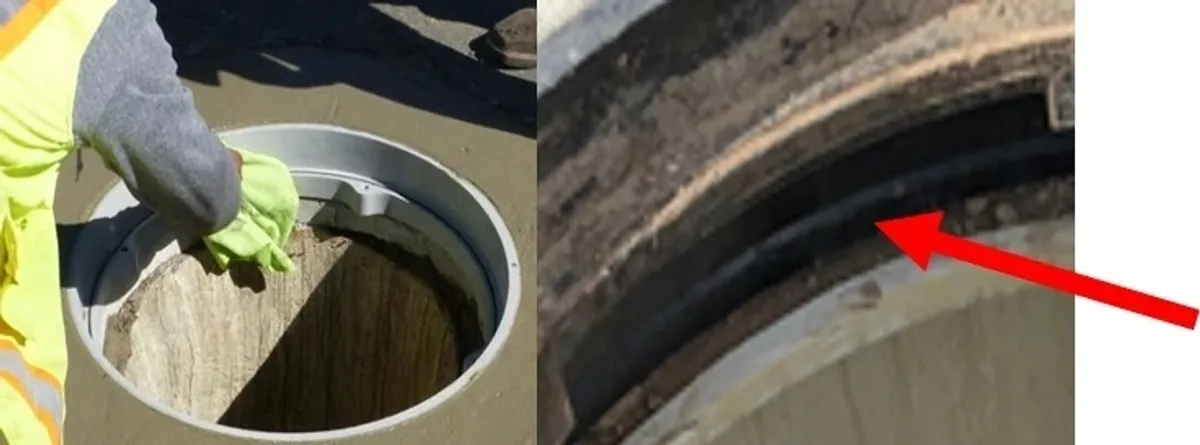
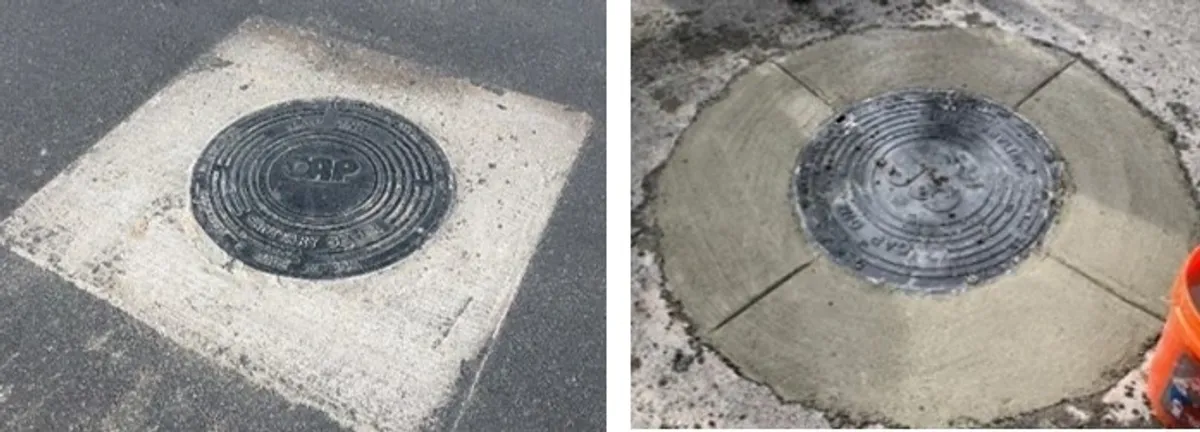
Ensure Adequate Frame Clear-Opening Diameter: Larger than for Hole Diameter
It is important to use a frame that is supported underneath the frame flange entirely by the ground or other structure supported by the ground (like the leftmost photo). Do not put a frame with a clear opening that is smaller than the hole opening – overhanging air – like right-side photo. With a smaller clear opening frame than hole, your assembly will not be fully supported.
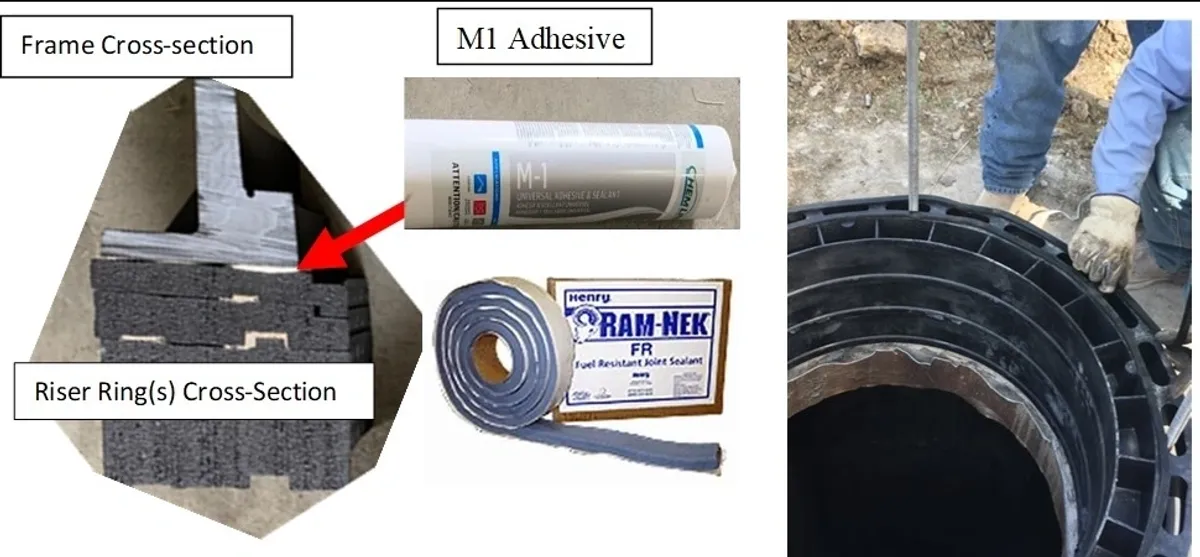
Sealants
Use a weather and corrosion resistant adhesive sealant between the frame flange bottom and the surface below. Though this is not an endorsement of specific sealant, some examples commonly used are shown in the picture to the right.
Achieving Grade
Avoid using a small piece of wood, rock, metal (etc.) as a “shim” to angle the cover to grade. Some riser rings are made so that you can create the grade angle with complete frame support. Always follow the riser ring manufacturer’s instructions to achieve the proper angle.
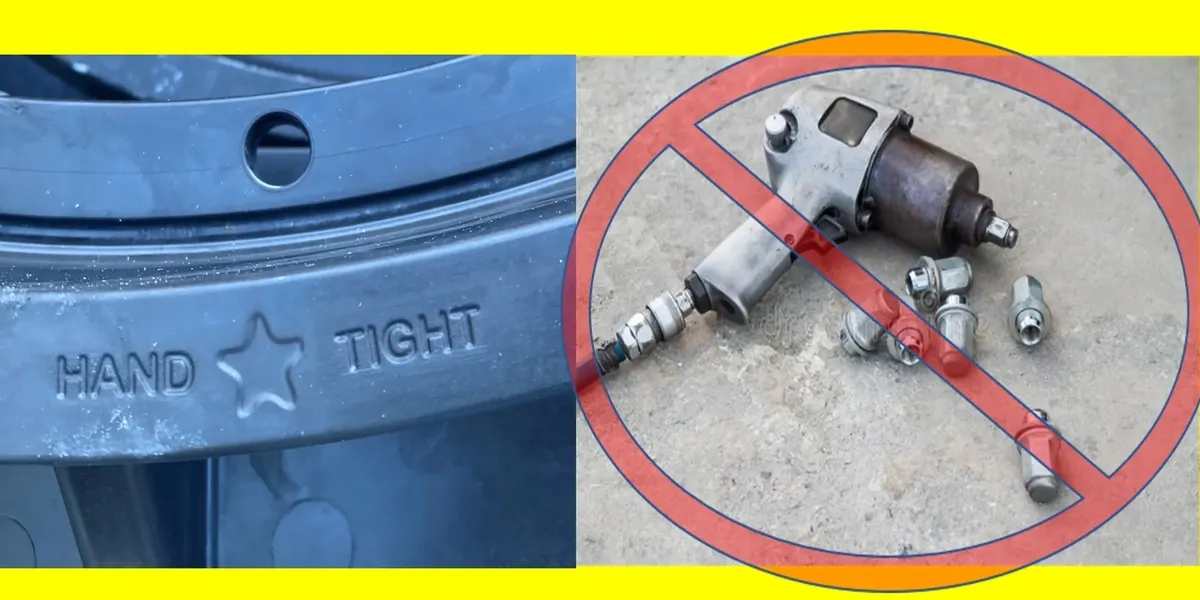
Hand-Tighten Bolts…No No Impact Wrenches or Hammers. Superman is not needed to tighten CAP’s
While impact wrenches and drivers are terrific tools for some applications, DO NOT USE FOR CAP™‘s 316 STAINLESS STEEL BOLTS. Used for maximum corrosion resistance, stainless is a softer metal and should not be hammered, hit, or torqued beyond 20 ft. lbs. We recommend 6 ft-lb. and maybe up to 12 ft-lb. CAPs also have special seals around the bolts that can get damaged by high torque. Damaged seals will permit some light water and odor lto eak. Newer CAP™ frames have the “HAND TIGHT” reminder next to the bolt locator.

Anchors
To anchor the frame to the ground, CAP’s frames have molded-in anchor holes. Anchor a threaded rod into the ground using anchor bolts, following the manufacturer’s instructions. Align the rods to enter the frame holes, and place the frame on the rods. Cut to size and fasten the frame to the rods. This photo shows one possible anchor bolt product and is not an endorsement.
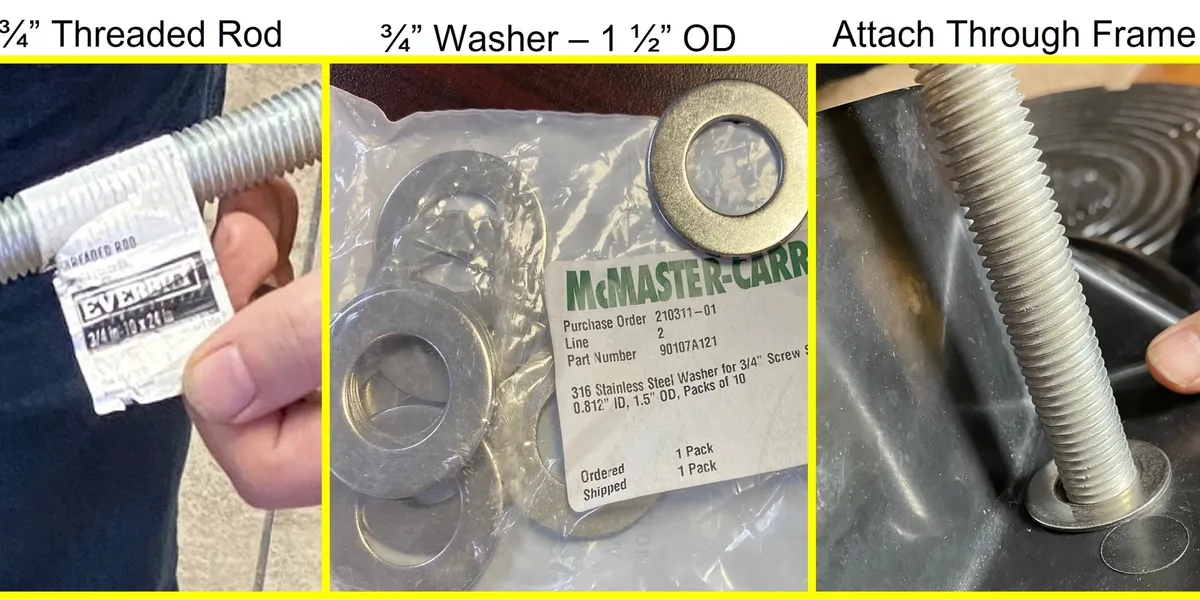
Other Hardware
3/4-inch threaded rod stock with corresponding washers works well for the CAP frame anchor holes. This photo shows some specific vendors of these products and is not an endorsement.
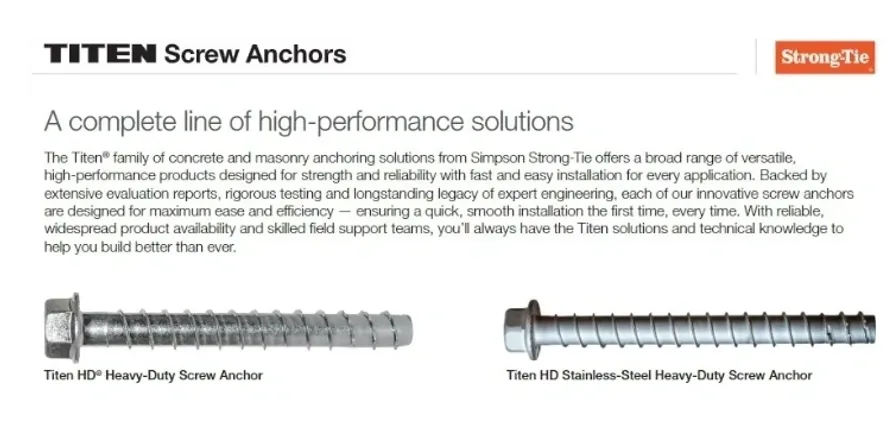
Other Anchor Bolt Option
Some municipalities and contractors have reported success with another product that combines the anchor, rod and washer in all one unit. Again, this is not an endorsement.
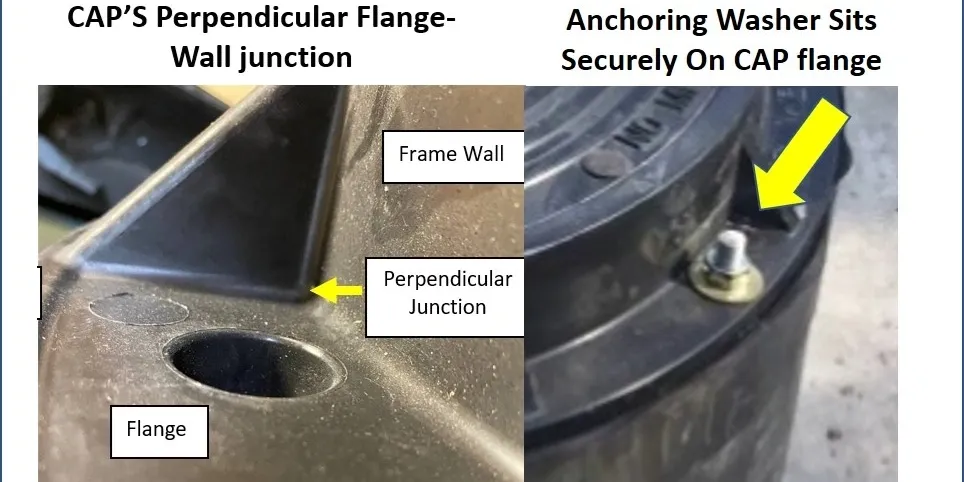
Nut and Washer Locking Frame to Anchors
CAP frames are made with 90-degree junctions at the flange and frame wall. This allows the washers for anchor rods to sit flat on the frame flange. If the junction has a large curvature or “radius,” this can cause the washer to tilt rather than sit flat on the frame flange.
Important: Clean Mortar, Concrete, Debris
Make absolutely sure to wipe and clear materials from the inside of the frame wall and built in notches. When using a quarter-turn paddle lock fastener, these frame notches are used to engage the latch. Blocked with debris, the cover might not lock to the frame.
Concrete Collar
Some installers prefer a square of concrete around the frame and some a circle. Some also use rebar, create expansion joints or other techniques.
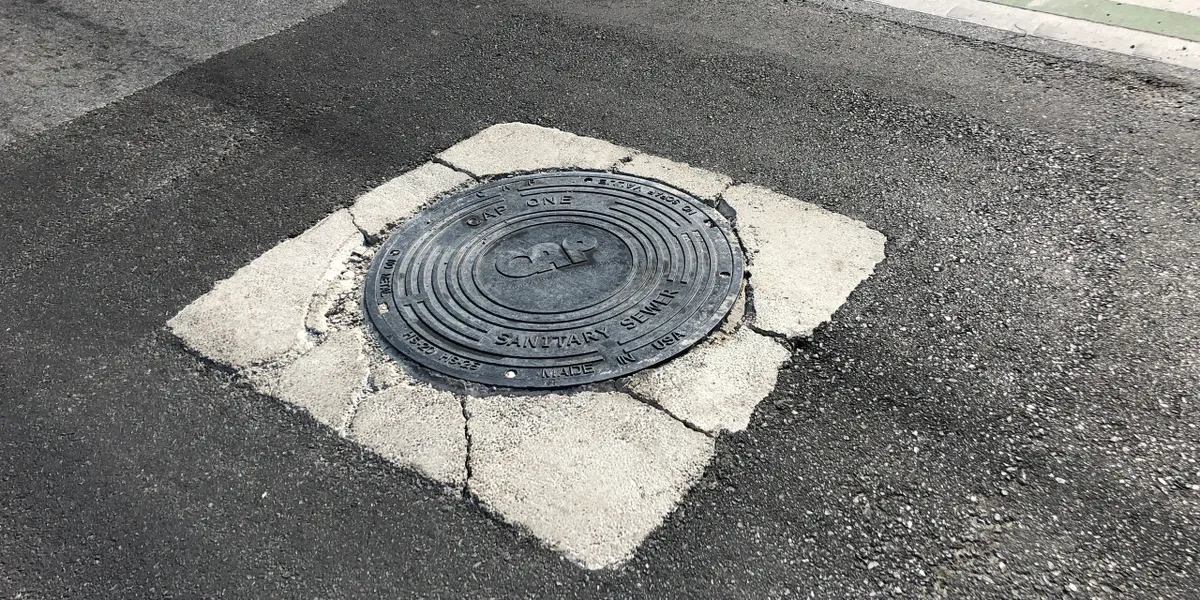
Don’t Cut Corners!
Some installers recommend 5000 psi concrete a minimum of 12 inches from the frame edge, at least 6 inches deep, using #4 rebar 12 inches on center. Allow 24 hours for concrete to cure before allowing traffic contact (refer to concrete mix instructions).
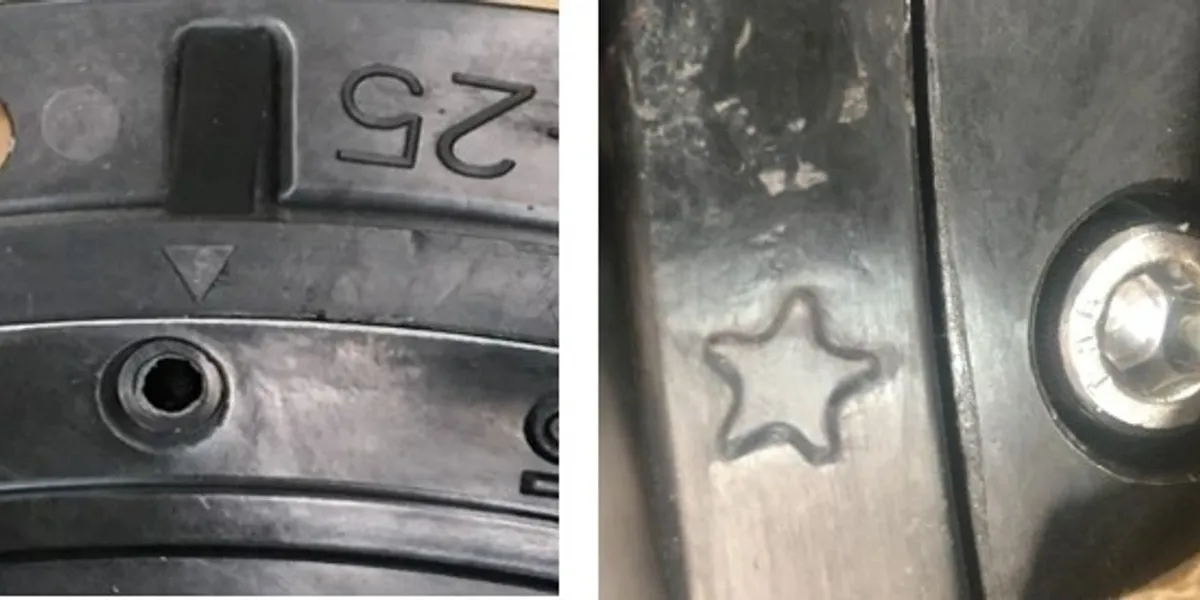
Bolted CAPs: Align Bolt Holes to Frame Indicators
You may need to rotate the cover if the holes and hardware do not line up. The frame has shapes (triangles, stars) that indicate where the bolt holes should be aligned to have the cover and frame holes centered on each other.

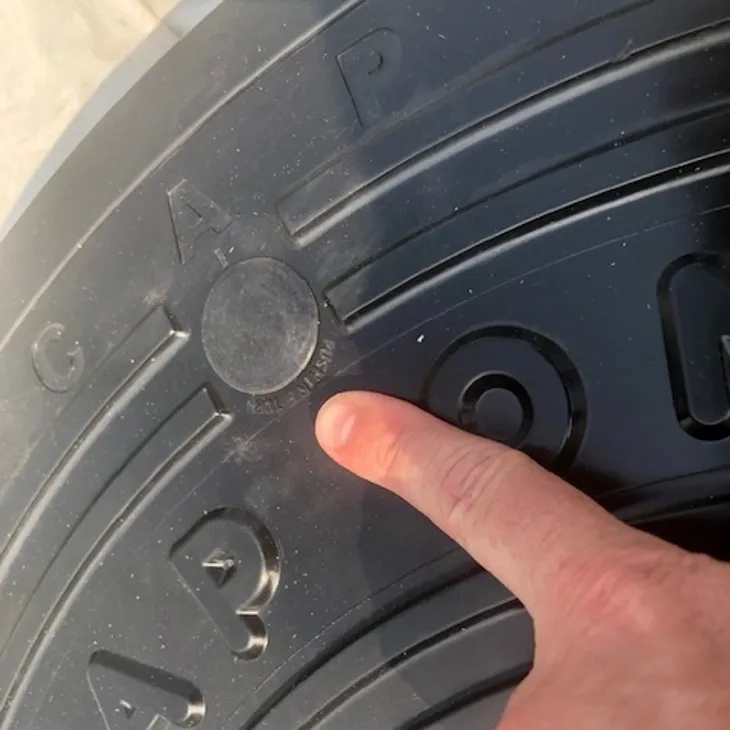
Paddle Lock CAPs: Push and Turn Notch to Outside
Paddle locks need to be pressed down and then rotated to engage the frame. A mark on the head of the paddle will point away from the cover center and toward the frame wall when the latch is locked. This mark is in the same direction as the paddle underneath to cover.
Housekeeping.
Dirt Shields
CAPs come with rubber plugs intended to help keep fastener areas clean.
Clean Covers (not like this photo)
Clean cover surfaces of excess asphalt. If left to dry, covers will be difficult to clean later.
Show Pride in Your Install
People do notice how manhole covers are installed. What does it say about your city?